Supplies:
4- 6" squares
8- 1 3/4" window squares
4- 3" inner (peak-a-boo)squares
1- 6" backing square
Stuffing
1 Button for embellishment
Coordinating thread
Hand sewing needle
Directions:
Follow the Cathedral Windows Basics Tutorial HERE including the sewing embellishment (peak-a-boo) using the size requirements listed below:
*Size Requirements for Cathedral Windows Pincushion #2:
6"solid squares
1 3/4" window square
3" inner square
You will make a four patch just like in the Cathedral Windows Basics Tutorial (just smaller).
Assembling the Pincushion:
1. With backing square and CW square right sides together (RST) sew all the way around the squares leaving about a 2" opening for turning. 2. Trim off corners being careful not to cut stitching.
3. Turn pincushion right side out and stuff as desired. Hand sew the opening closed.
Need help sewing your pincushion closed? Check out my Mom's Ladder Stitch Video Tutorial over on her blog! It's a great, detailed tutorial and you won't see your stitches afterwards!
Adding a Button to your Pincushion:
1. With hand sewing needle and thread, start with a knot of top side of pincushion, close to the center.
2. Slide button on thread and cut off extra thread by the knot. (button will cover knot).
3. Bring thread through the other hole in the button and push through to the bottom of pincushion.
4. Pinch pincushion and repeat until button is secure.
See photo:
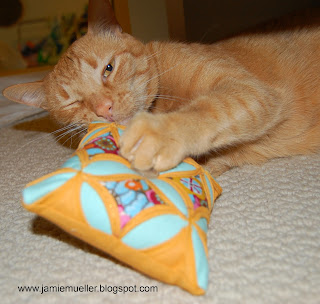
Your Cathedral Windows Pincushion is finished! I can't wait to see yours! Here are photos of mine that I've made! (FYI: the snow photos are older and I didn't just make them, just incase you're wondering where I live when there is snow in April!)
Don't forget to add photos to my Flickr Group or Link up at the below!


1 comments:
Did you add some catnip to the one the kitty has? They would make a great kitty toy too.
Post a Comment